

How to Embroider the Lazy Daisy Stitch
- Melissa Galbraith
- Oct 12, 2021
- 2 min read


Texture Terrarium Stitch Along Day 6: Lazy Daisy Stitch
We'll be using the lazy daisy stitch to add leaves to one of our terrarium plants.
The Stitch:
I'm not sure where the the lazy daisy stitch got it's name, but it's anything but lazy. This stitch creates a single chain link that can be used on it's own or to create more robust flowers, like daisies.
Watch the video below for how to embroider the lazy daisy stitch and scroll down for a step-by-step guide + information on how to join the Textural Terrarium Stitch Along with Pattern Club.
How To Video:
Step By Step Guide:

1. To start, bring your threaded needle from the back of your fabric to the front. Hold your thread off to the side.
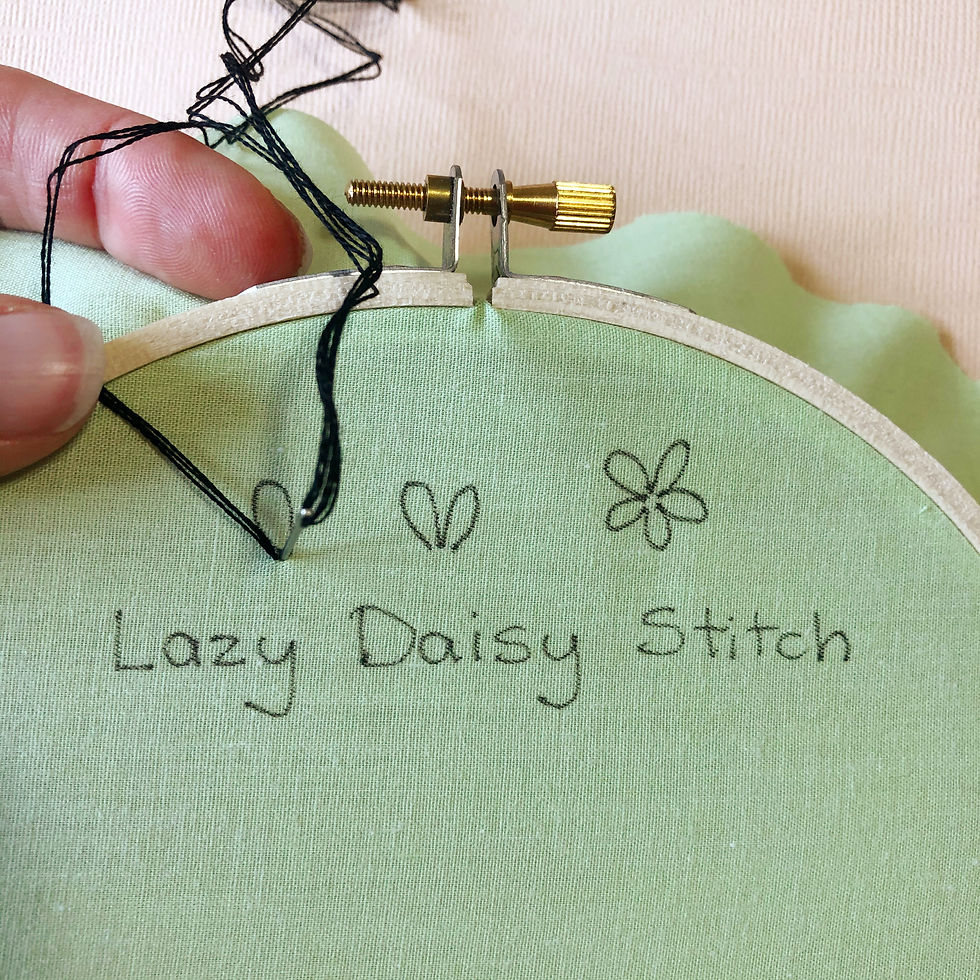
2. Bring your needle back down through the fabric in almost the same place you just came up.

3. Gently pull your thread until you have a small loop formed on the front of your piece. Next bring your needle up from the back to the front, going through your loop. Whereever you bring your needle back up, will be where the top of your lazy daisy is formed. Be sure your loop isn’t twisted, otherwise your lazy daisy will also be twisted.

4.Then gently pull your thread through so that a small loop is formed on the front of your fabric.

5. To secure your petal, bring your needle down, back through the fabric at the top of your petal, on the other side of your looped thread.

6. This creates a single lazy daisy.

Want to join in the Textural Terrarium Stitch Along? During July 2021 you can join Pattern Club and stitch this design along with us for only $10! If clubs aren't your thing or it's not July, you can purchase the digital pattern here. Then follow along with each blog post to learn how to create each embroidery stitch used in this Textural Terrarium. You can also find more colorful and beginner-friendly embroidery patterns and kits in the MCreativeJ shop.


תגובות